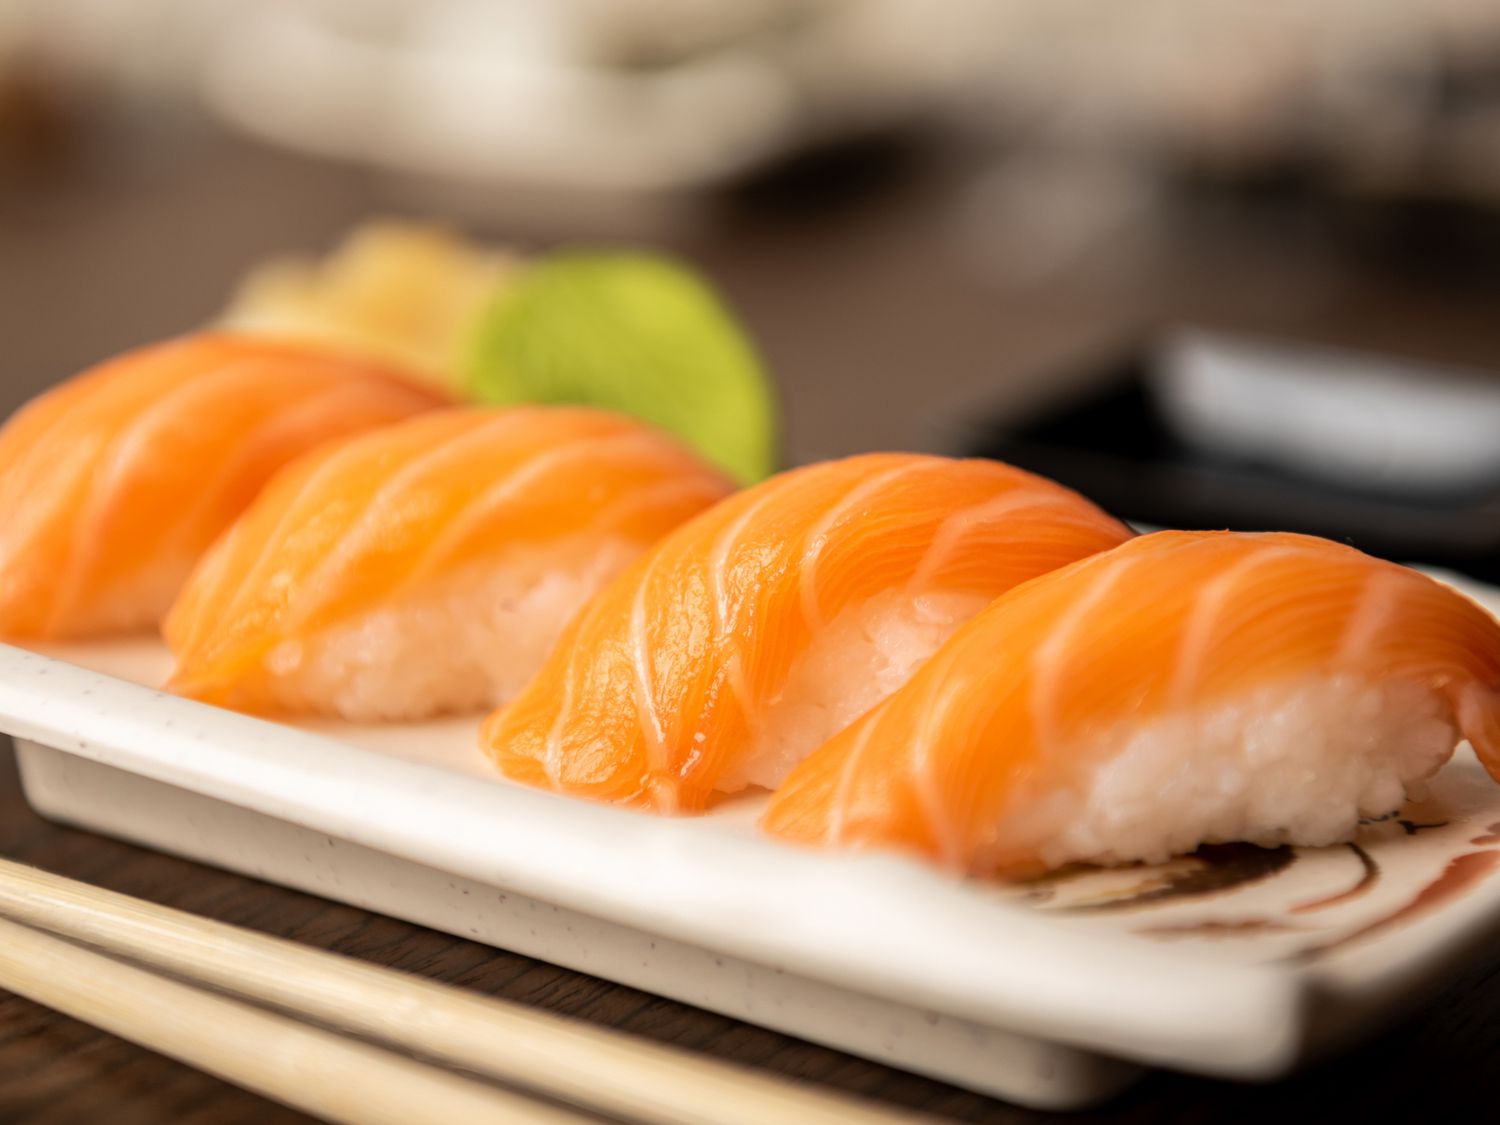
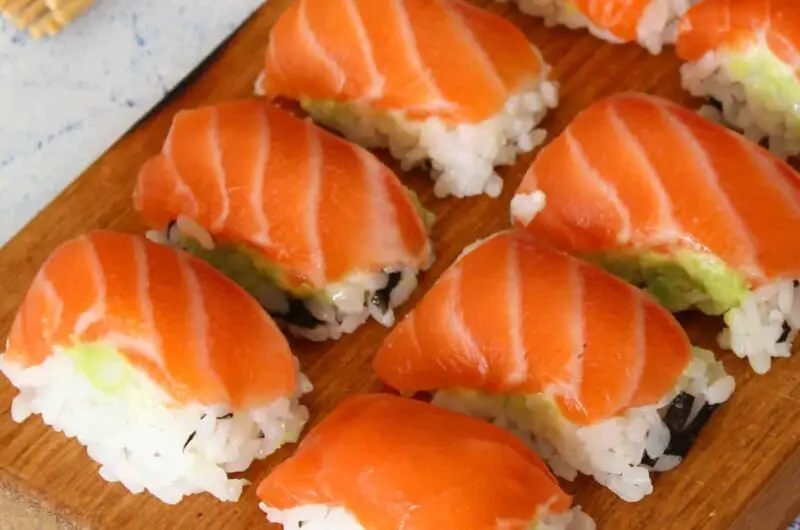
Nigiri is a popular type of sushi that’s simple but tasty. The word “nigiri” means “to grasp” in Japanese. This is because the sushi chef shapes the rice by hand, pressing it into a small, oblong mound. A slice of fresh fish or seafood is then placed on top. Sometimes, a small bit of wasabi (a spicy green paste) is added between the rice and the fish for a bit of heat. Nigiri is often served with soy sauce and pickled ginger on the side.
Unlike other types of sushi, like maki (rolled sushi with seaweed), nigiri doesn’t have seaweed wrapped around it. It focuses on the pure taste of the fish and rice. You might see nigiri with different toppings, such as tuna, salmon, shrimp, squid, eel, or octopus. Each type of seafood brings its own flavor, making nigiri a versatile dish that appeals to many.
The History and Origin of Nigiri
Nigiri sushi has a long history that dates back hundreds of years. It started in Japan during the Edo period (1603-1868). Before refrigeration was invented, people needed a way to preserve fish. They did this by pressing it between rice and salt. This preserved the fish for longer periods, and over time, people started eating the rice along with the fish. This method was called “narezushi.”
ALSO READ: Chicken Cobbler: A Simple and Delicious Comfort Food
Nigiri: The Simple and Delicious Sushi
Course: MainCuisine: JapaneseDifficulty: Easy16
servings15
minutes45
minutes324
kcalAn easy and complete homemade Nigiri tutorial with lots of tips and tricks. Unlike maki sushi, nigiri isn’t rolled. Instead, it’s comprised of a thin slice of raw or cooked seafood like salmon or shrimp atop a mound of vinegary rice. You’ll learn everything about Japanese nigiri including the difference between nigiri and sashimi, and how to make perfect nigiri at home.
Ingredients
- Nigiri-Making Staples
Sushi Rice
Nori Seaweed Sheet
Sharp Knife
- Most Popular Topping Ingredients: Choose Your Favorite
Salmon
Tuna
Shrimp, Ebi
Tamago, Egg
Yellowtail, Hamachi
Eel
Octopus
Uni
Directions
- Cook the Sushi Rice: Wash and rinse the rice with cold water. Add the rice and water to the rice cooker. Cook according to the instruction.
- Season the Rice: Transfer the rice to a large bowl and let it cool down slightly. When it’s still very warm, stir in the sushi vinegar (or the mixture of rice vinegar and sugar).
- Prepare the Topping: If you use raw fish, cut it against the grain, with an angle of 30 to 45 degrees. I recommend cutting it to 3-inch long, 1-inch wide, and 1/4-inch thick pieces. (You’ll need to adjust the angle from time to time to get the proper length and thickness.) If you make tamago nigiri, you’ll need to cook the egg first. See this post for details.
- Shape the Rice: Place about 3 tablespoons of rice in your hand. Squeeze it together until it rolls into a firm oval shape. Make the bottom flat with the rounded top. (You can dip your hand in tezu water to prevent sticking.)
- Assemble the Nigiri: Place the fish, egg, or veggie slice on the root of your fingers. Then take a pea-sized portion of wasabi, and spread it in the middle of the slice. Place the rolled sushi rice onto the topping slice, and bend your fingers to cover both the topping and rice together. Press down the rice using the index finger from the other hand. Turn the topping and rice and let the topping slice sit on top of the rice.
- Optional: For some nigiri sushi such as Tamago, you can wrap a thin nori strip around the width of the nigiri to secure the topping to the rice. Serve with optional wasabi, soy sauce, along with pickled ginger.
Notes
- Use Fresh Fish: Freshness is key for nigiri. Make sure to buy sushi-grade fish from a trusted source. Popular choices include tuna, salmon, shrimp, and yellowtail.
- Keep Your Hands Wet: To prevent the rice from sticking to your hands, dip them in a bowl of water before shaping each nigiri. This helps keep the rice smooth and easy to mold.


